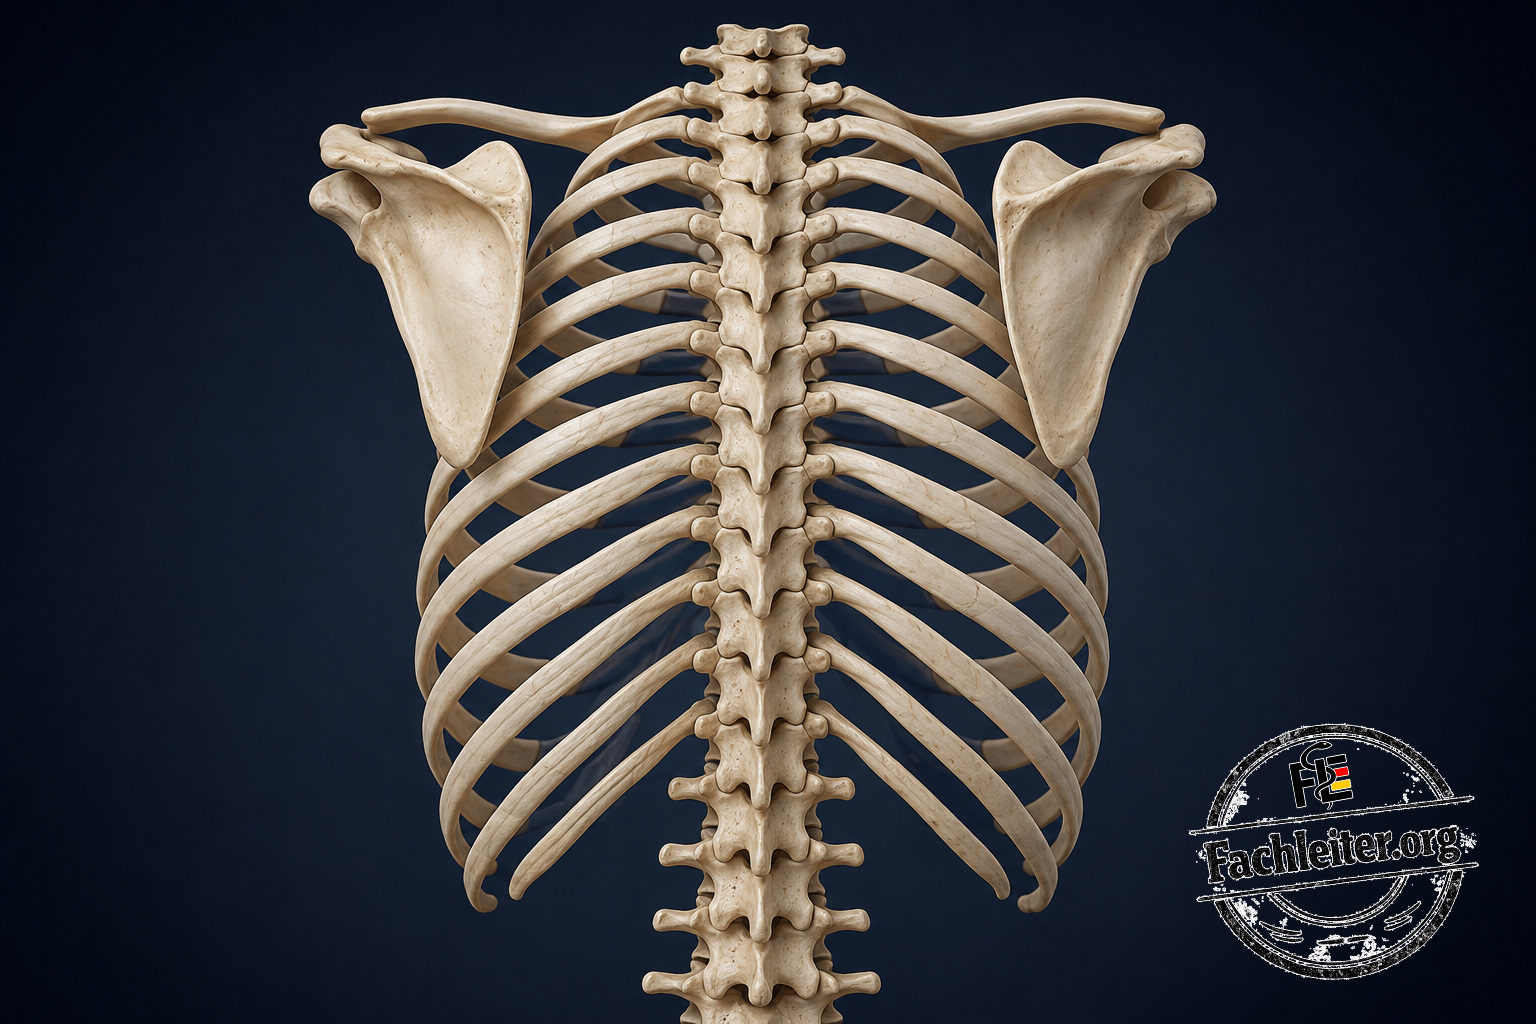
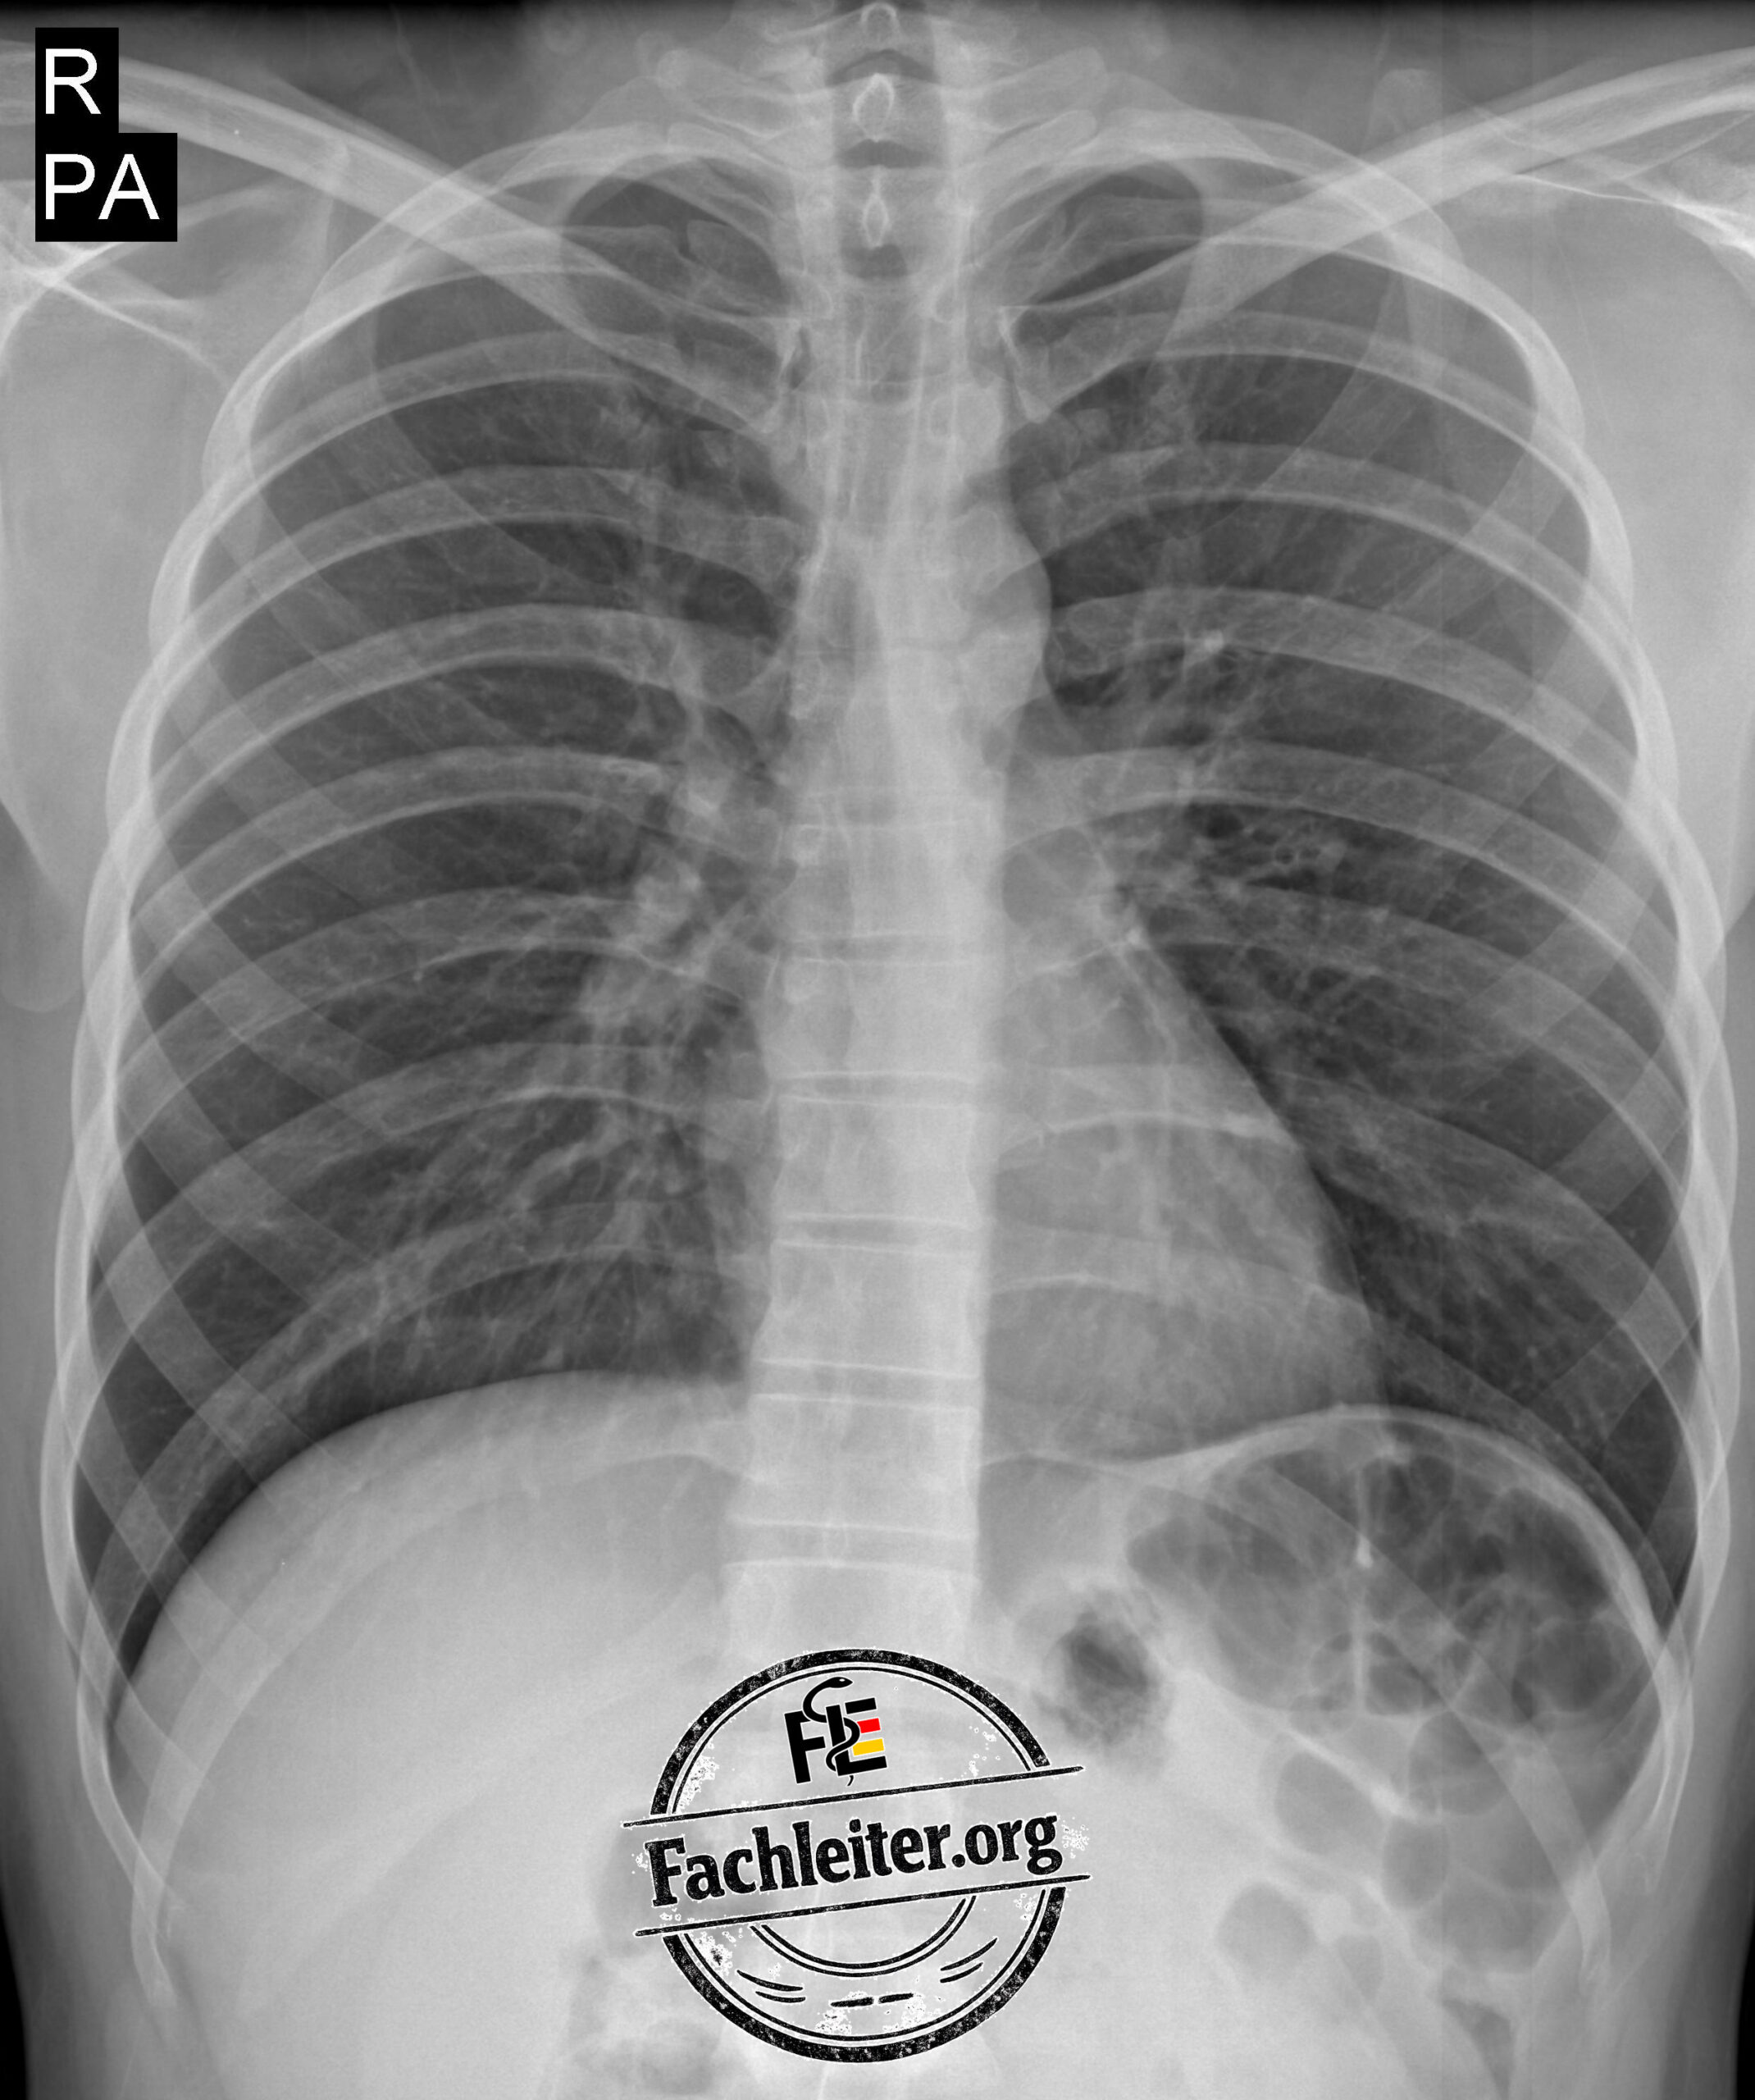
Assessing a normal chest X-ray begins with confidently identifying the anatomy. Before pathological changes such as pneumonia, pneumothorax or pleural effusion can be recognized, the main bony, pulmonary and mediastinal structures should be reliably identified.
In this post you will find two annotated chest radiographs (PA projection) that allow you to systematically learn the key anatomical structures. The annotations are for anatomy training only and do not indicate pathological findings.
Learning objectives
After working through this post you should:
-
be able to confidently identify the main anatomical structures on a chest radiograph,
-
identify bony landmarks,
-
assign cardiac and mediastinal structures,
-
assess lung fields and diaphragm,
-
be able to perform a systematic review of a chest X-ray.
Systematic assessment of a chest X-ray (PA)
1. Check patient data
-
Patient and examination date
-
Side marker (R/L)
-
Projection (PA or AP)
2. Assess image quality
Rotation
-
The spinous processes should lie centered between the medial ends of the clavicles.
Inspiration
-
Ideally at least 10 posterior ribs should be visible above the right hemidiaphragm.
Exposure
-
The thoracic spine should just be visible behind the cardiac silhouette.
3. Bones and soft tissues
Assess:
-
the clavicles
-
the ribs
-
the scapulae
-
the humeral head
-
the spine
-
possible fractures or osteolytic changes
-
soft tissues and skin
4. Airways
Check:
-
the trachea
-
the carina
-
the main bronchi
Look for tracheal deviation or narrowing.
5. Mediastinum and heart
Assess:
-
the cardiac silhouette
-
the heart size
-
the aortic arch
-
the mediastinum
-
the hila
6. Lungs
Compare both sides for:
-
transparency
-
symmetry
-
lung fields
-
vascular markings
-
lung parenchyma
Look for:
-
infiltrates
-
round opacities
-
atelectasis
-
pneumothorax
-
pulmonary edema
7. Pleura
Assess:
-
the pleural space
-
the costophrenic angles
-
possible pleural effusions
-
signs of a pneumothorax
8. Diaphragm
Check:
-
the right and left hemidiaphragms
-
the gastric bubble
-
free air under the diaphragm
9. Final assessment
Always compare both halves of the chest with each other and then systematically summarize the main findings.
Tip
First learn the normal anatomy. Only when all important structures are reliably identified does detecting pathological changes become much easier.
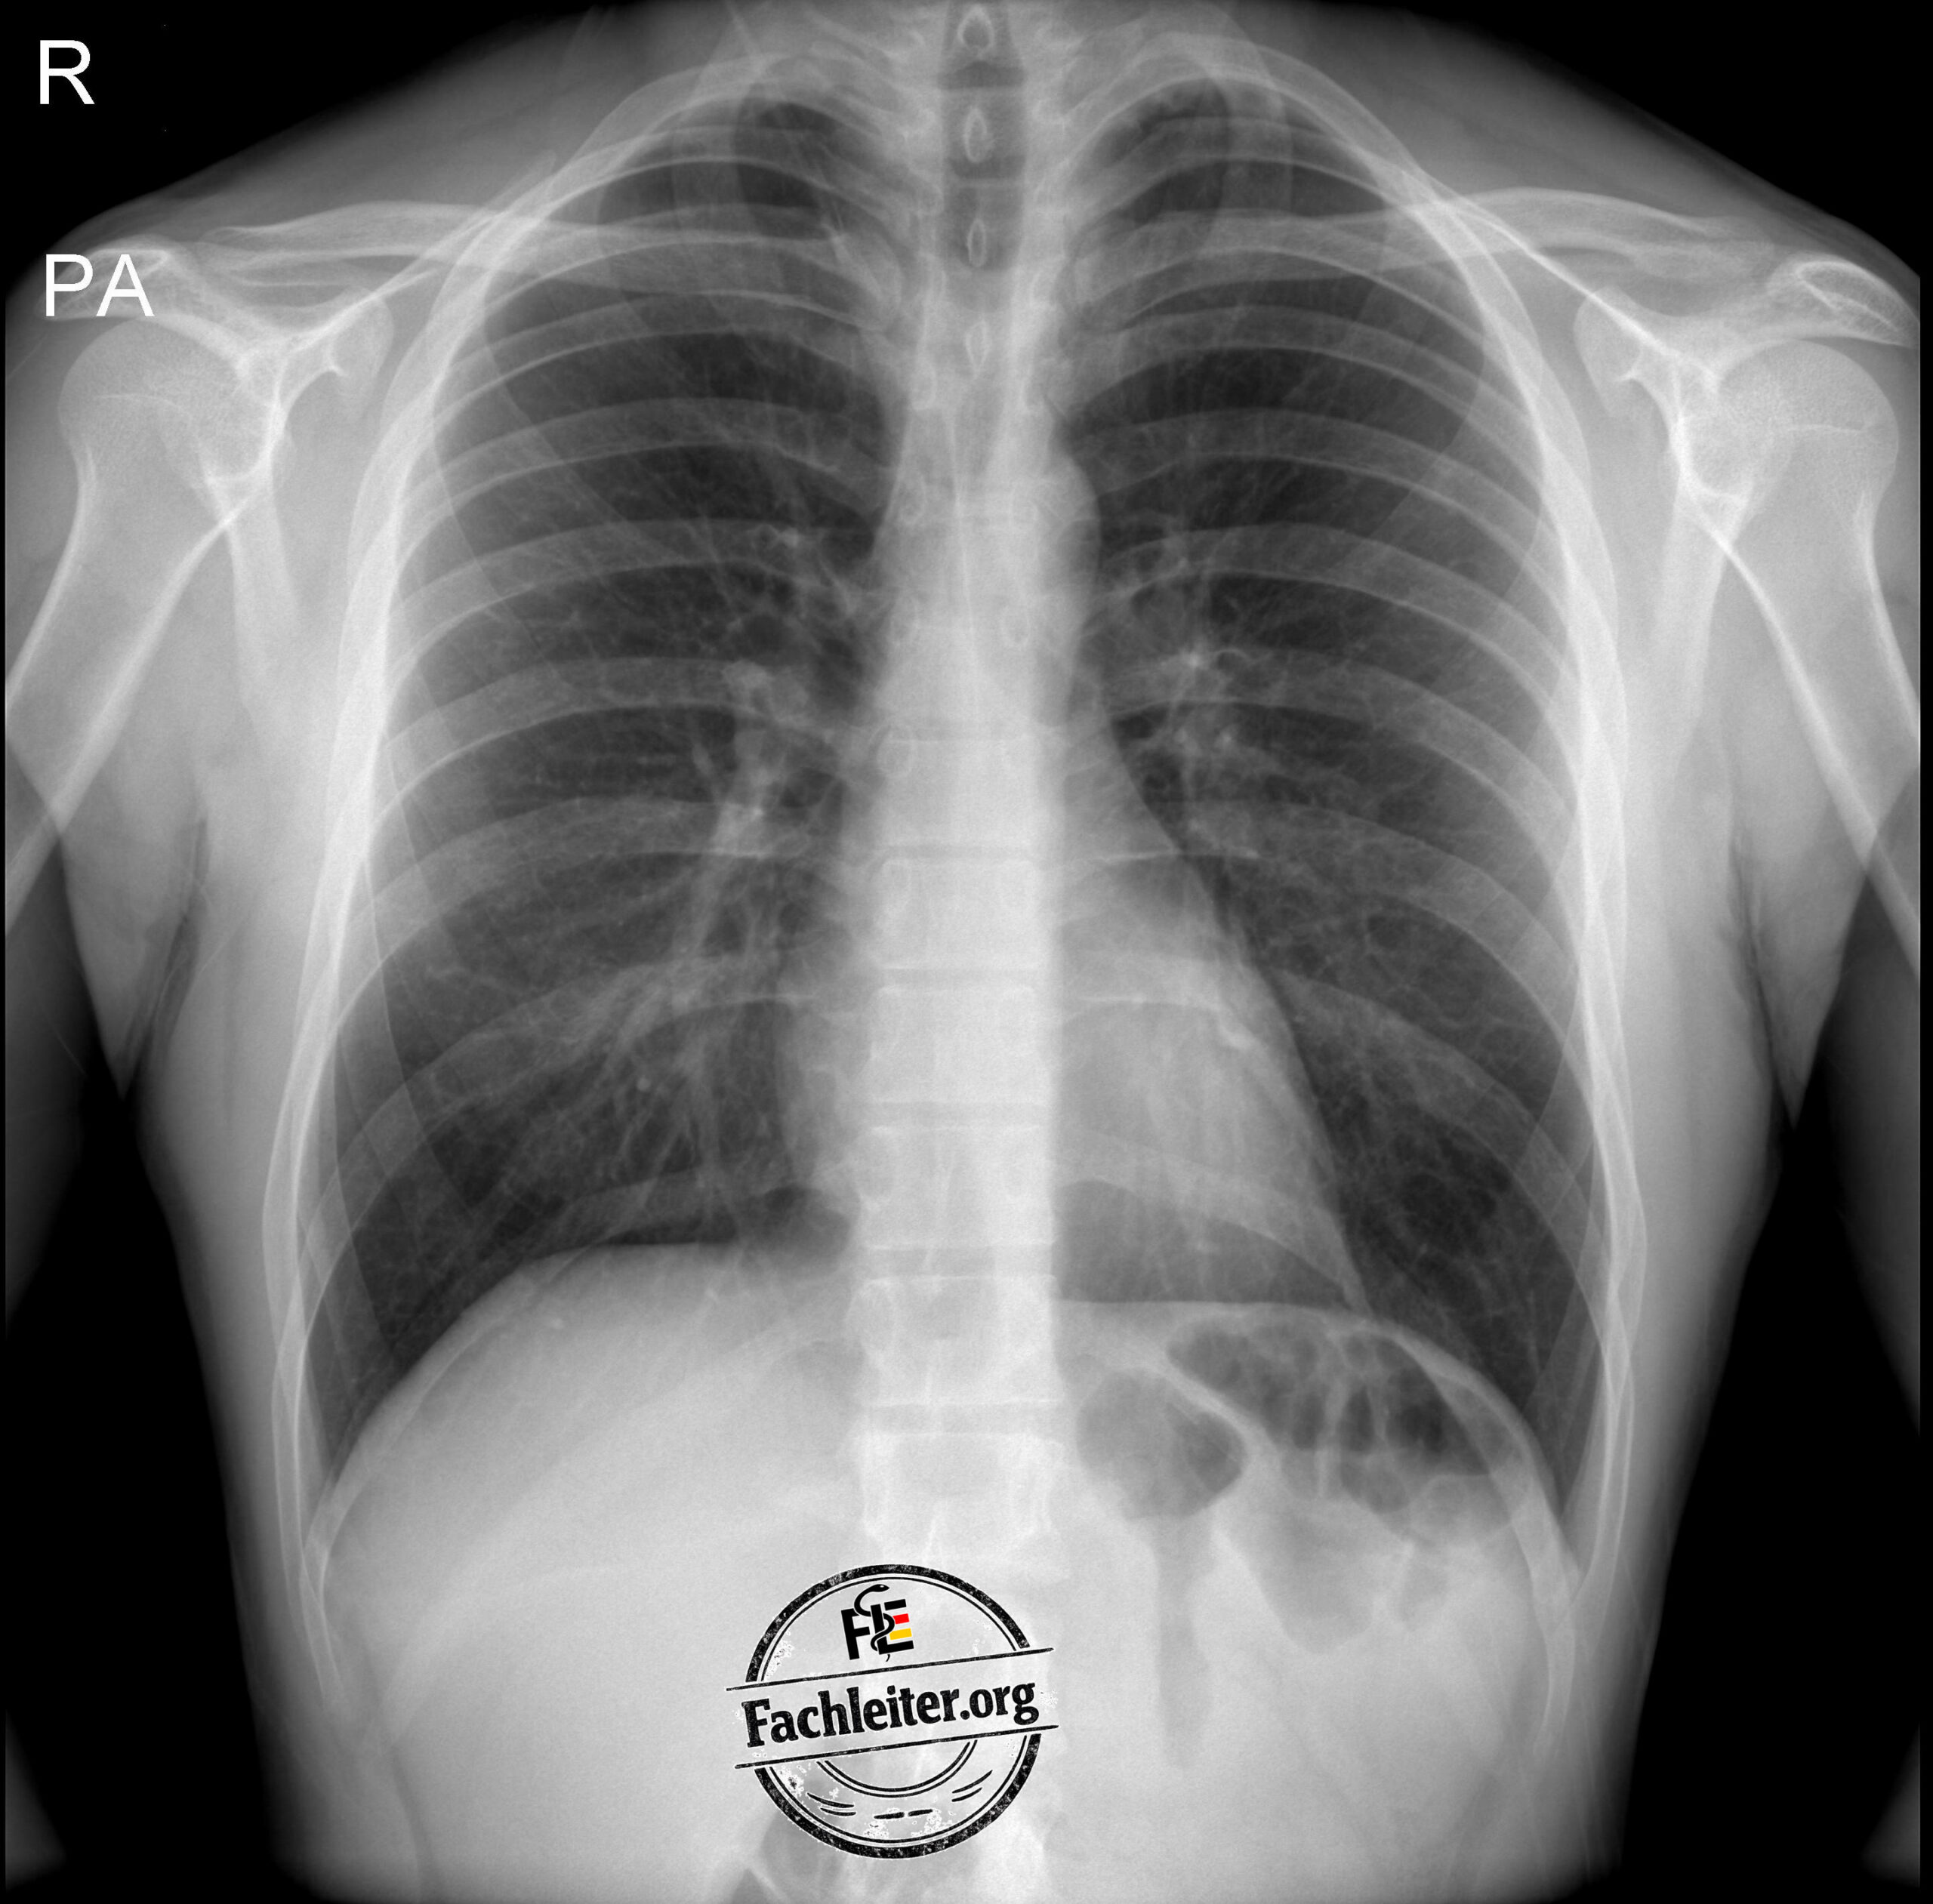
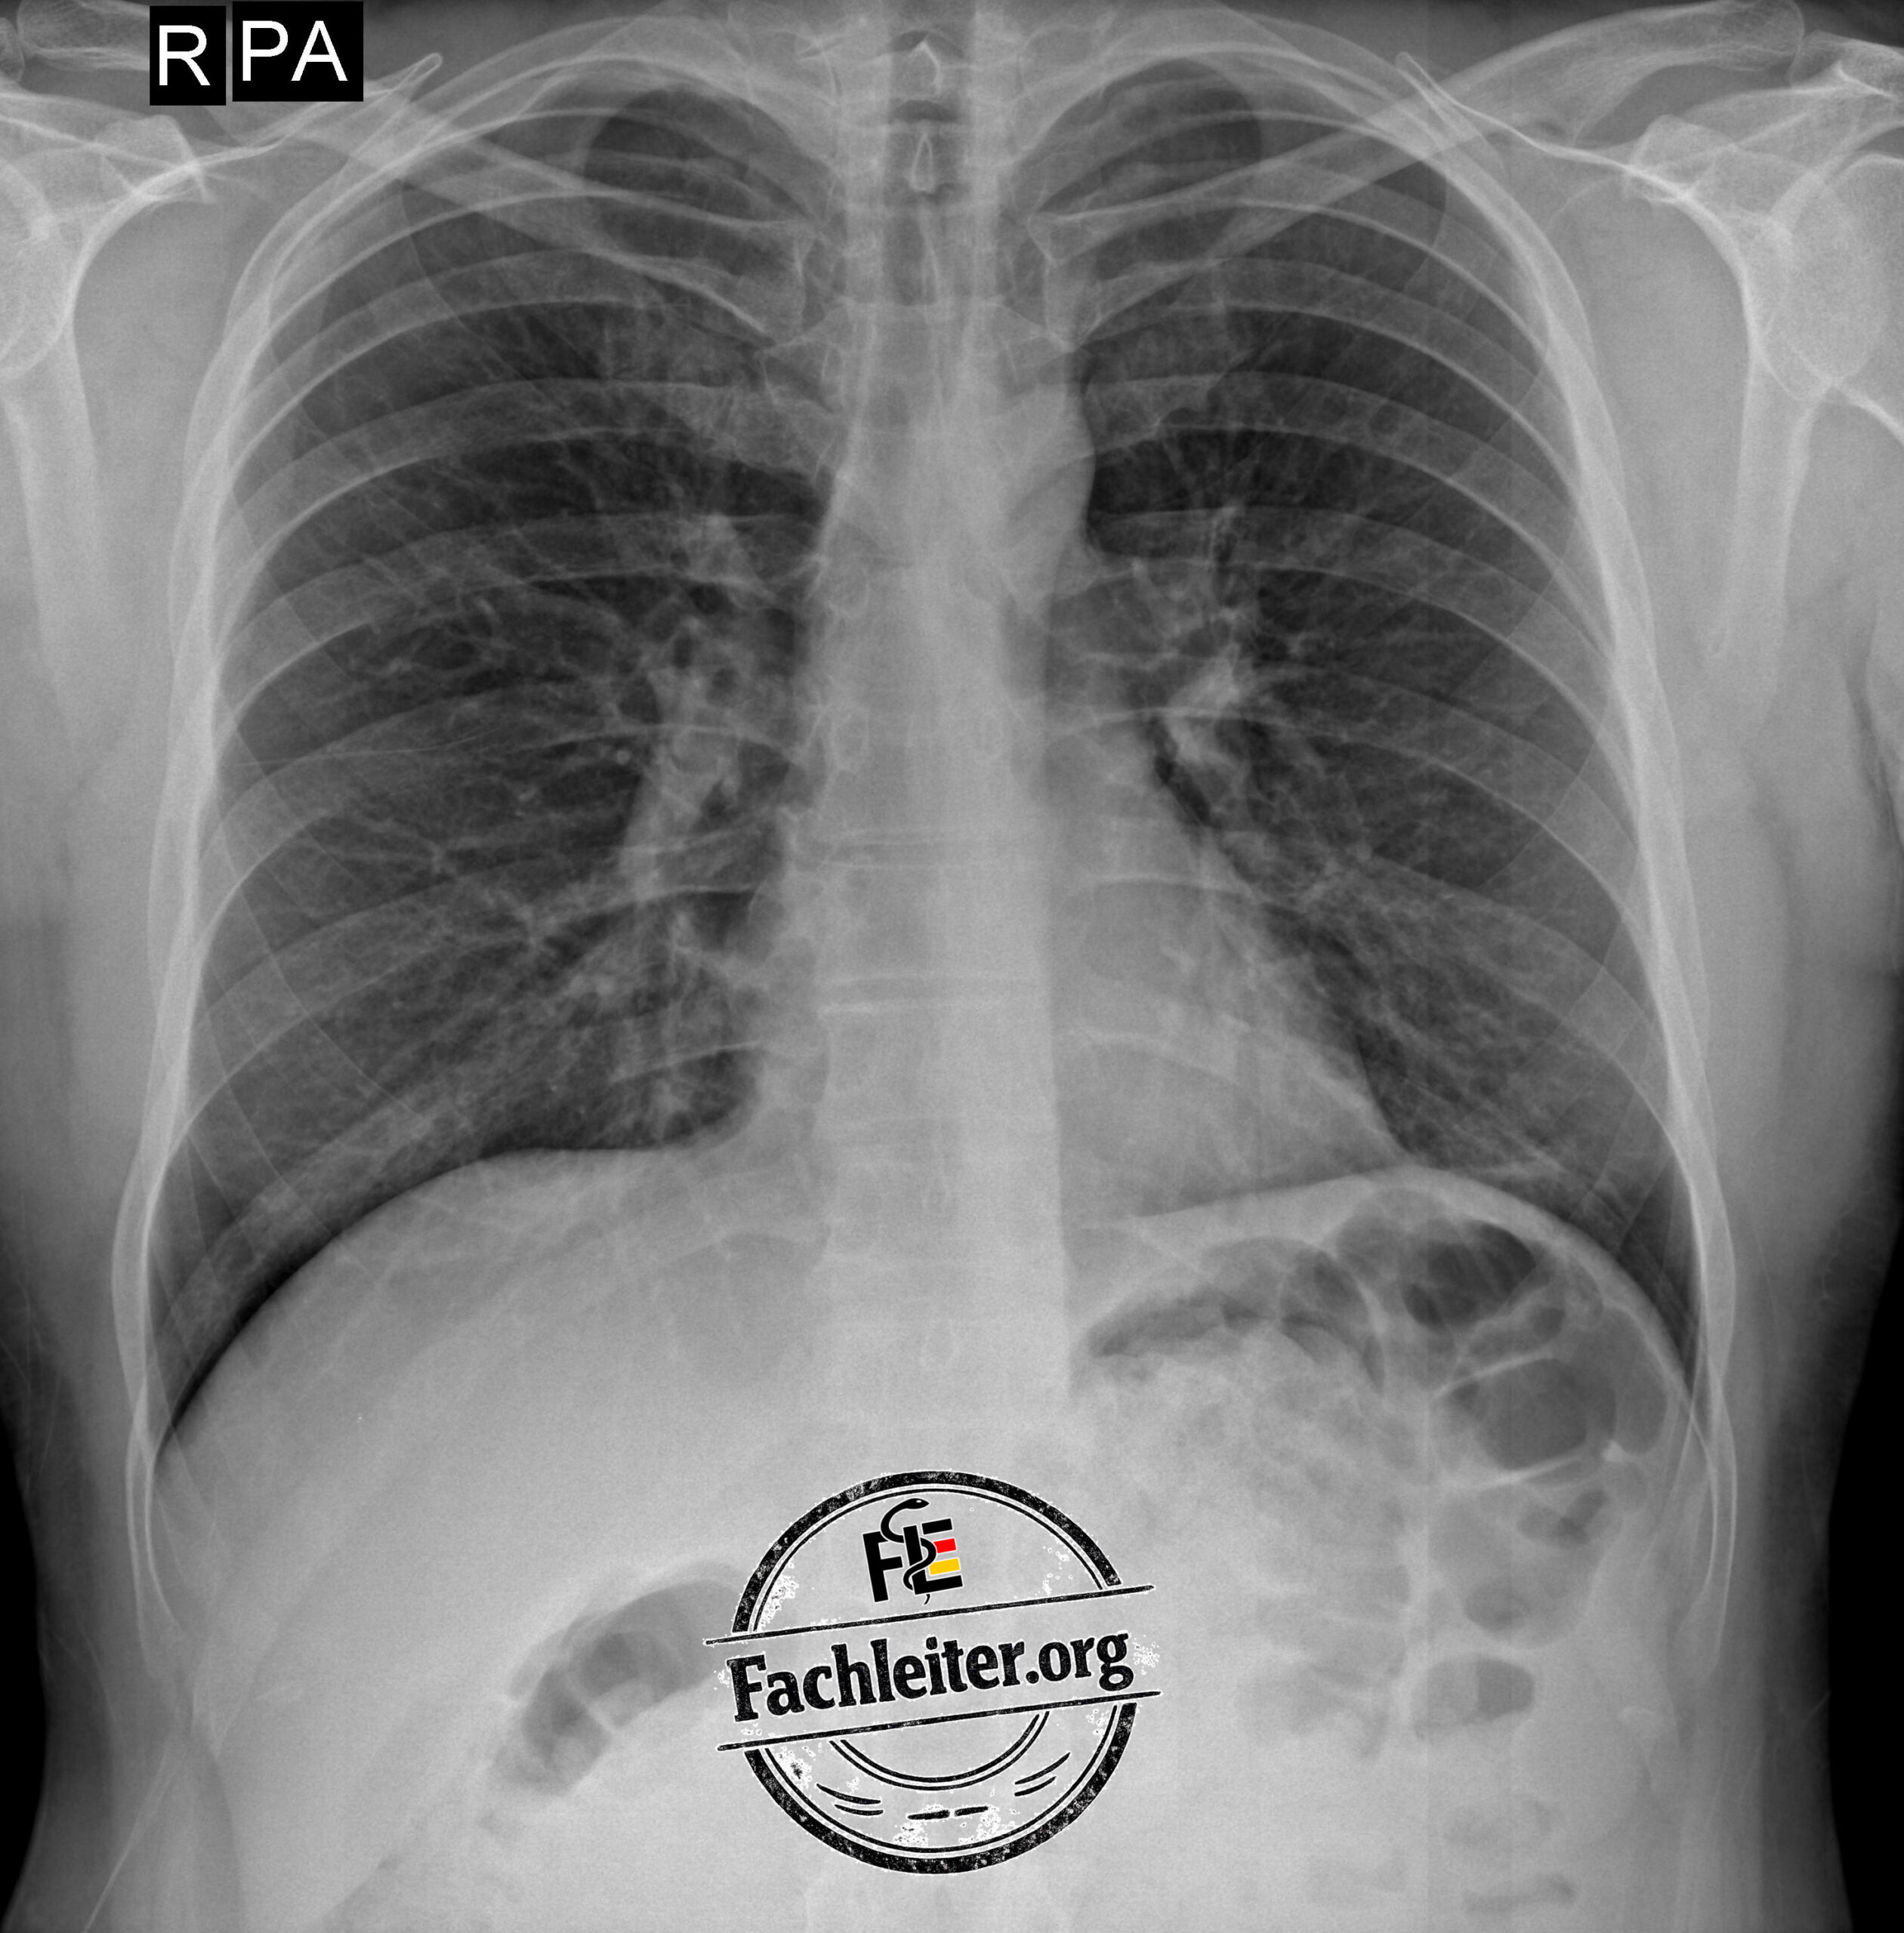
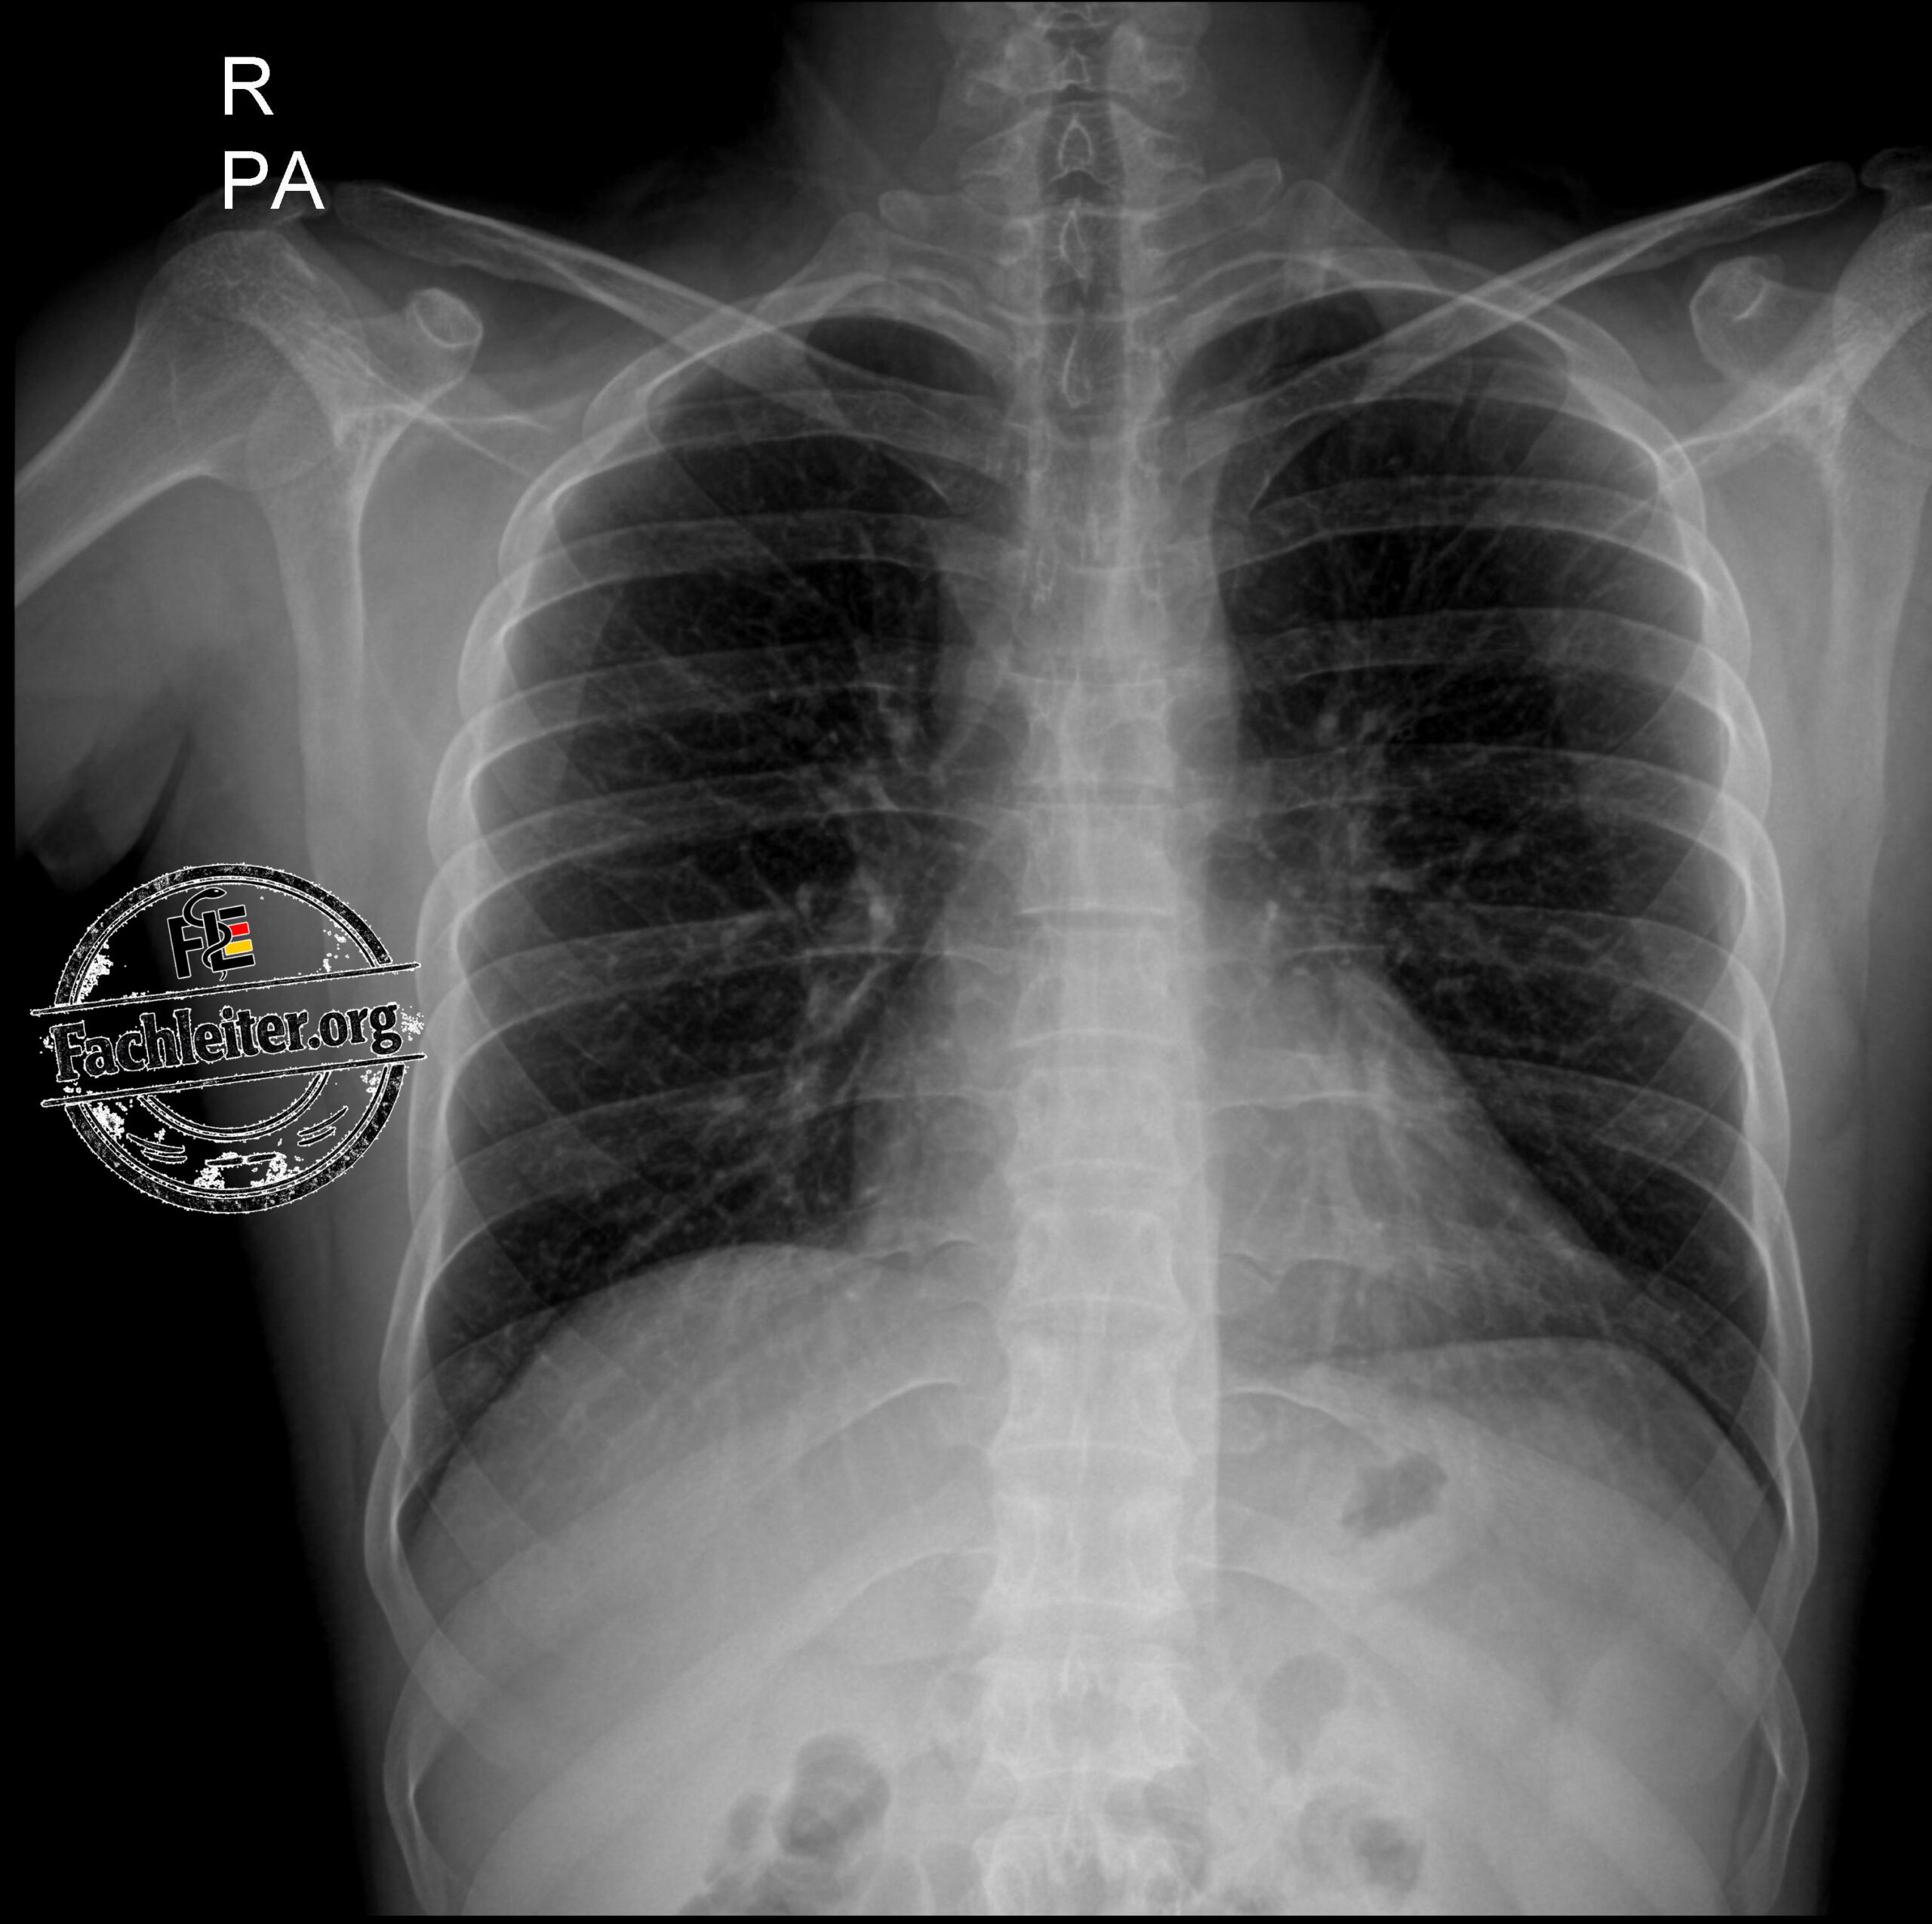
How do you count the ribs on a chest X-ray?
On a PA chest radiograph, the posterior rib portions are easier to count because they run almost horizontally. The anterior rib portions, in contrast, run obliquely downward.
The first rib serves as a landmark. It is broader and more strongly curved than the following ribs and already forms a distinct arc after a short course. From there the posterior rib portions are systematically counted from cranial to caudal.
Also pay attention to where the first and second ribs overlap with the clavicle.